Chuck's Weber Family Photo

Chuck's Weber Family Photo

Sunday, December 28, 2014

Successful First Brisket

Brisket is something I have been wanting to do, but have been fearful of it. I am afraid of ruining such an expensive cut of beef. Is ruined some ribs once and that was only a $20 mistake. Brisket is at least double that price. Now that I have the 18.5" smoker, I decided I now have enough space to try my hand at making a brisket. I had made a small flat, but it didn't come out as well as I had hoped. I was ready to try again. We were out running errands on Saturday afternoon.  We happened to be by Caputo's. I ran in there to see if they had any decent looking briskets. Going through the ones in the cooler, I found one that was mis-priced. All of the other ones were marked at $8.99/lb, but this one was $5.99/lb. That was my sign to buy it and go for it.


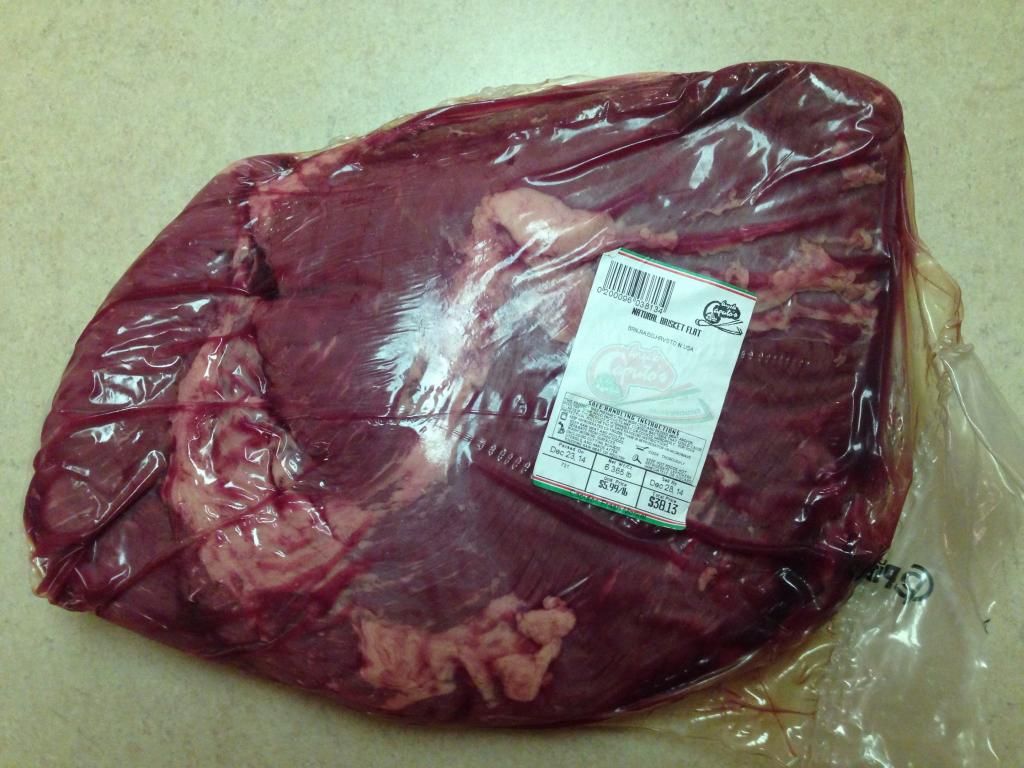
Not wanting to mess it up, I did some research on the Internet. It turns out everyone 
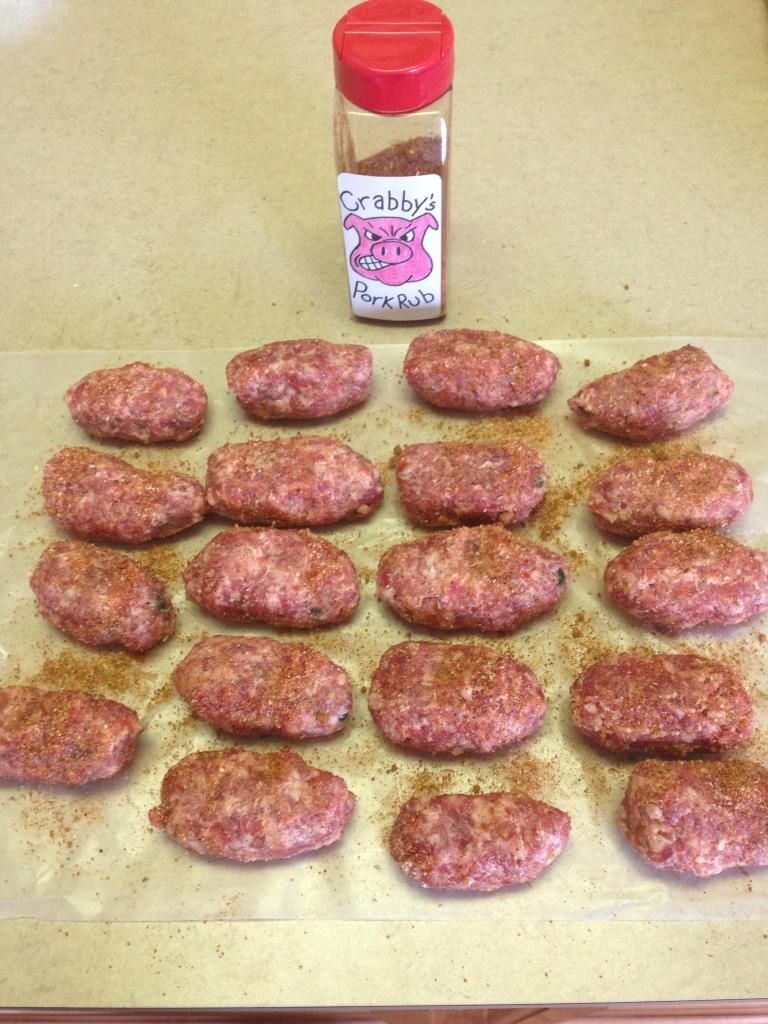
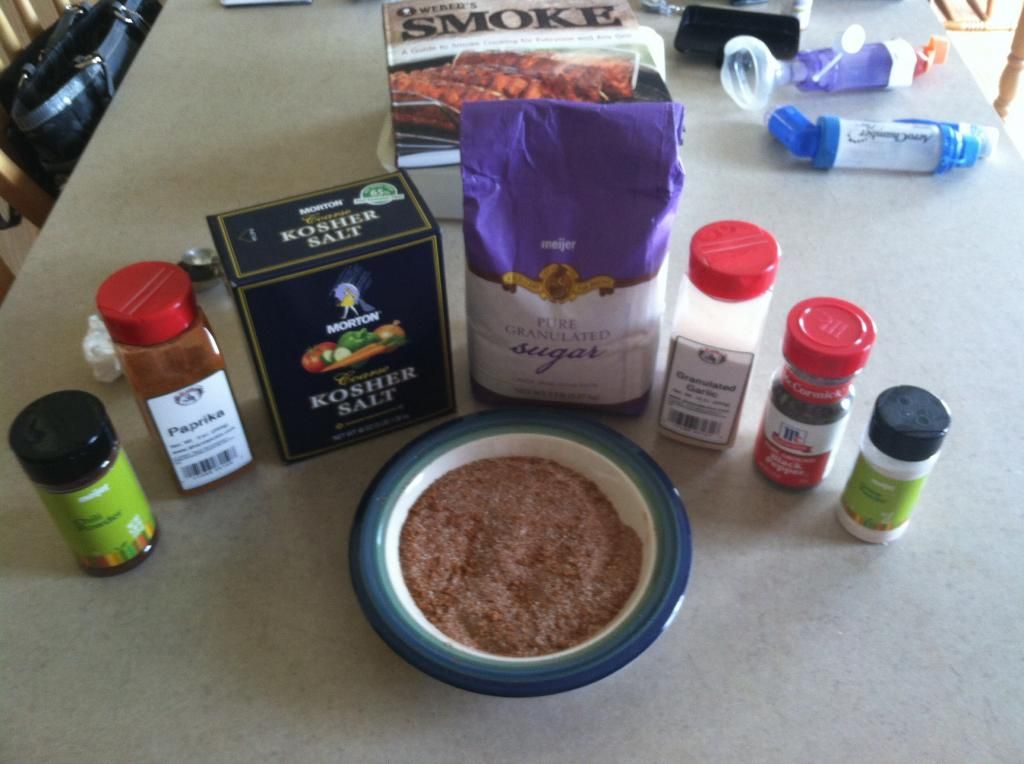
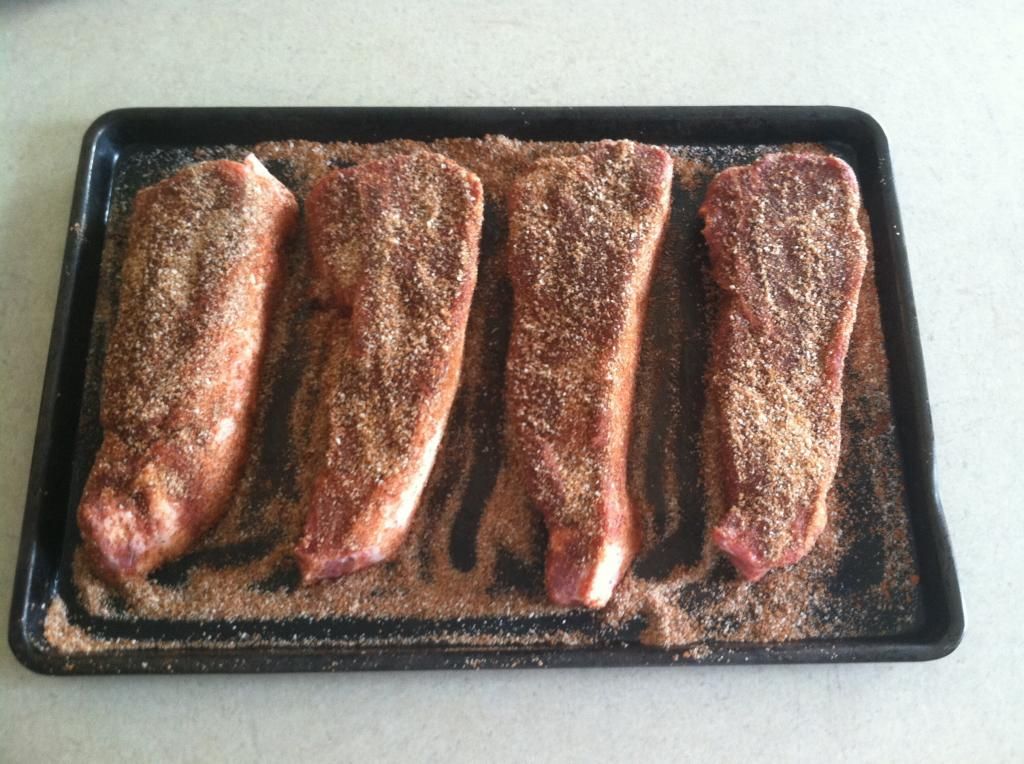
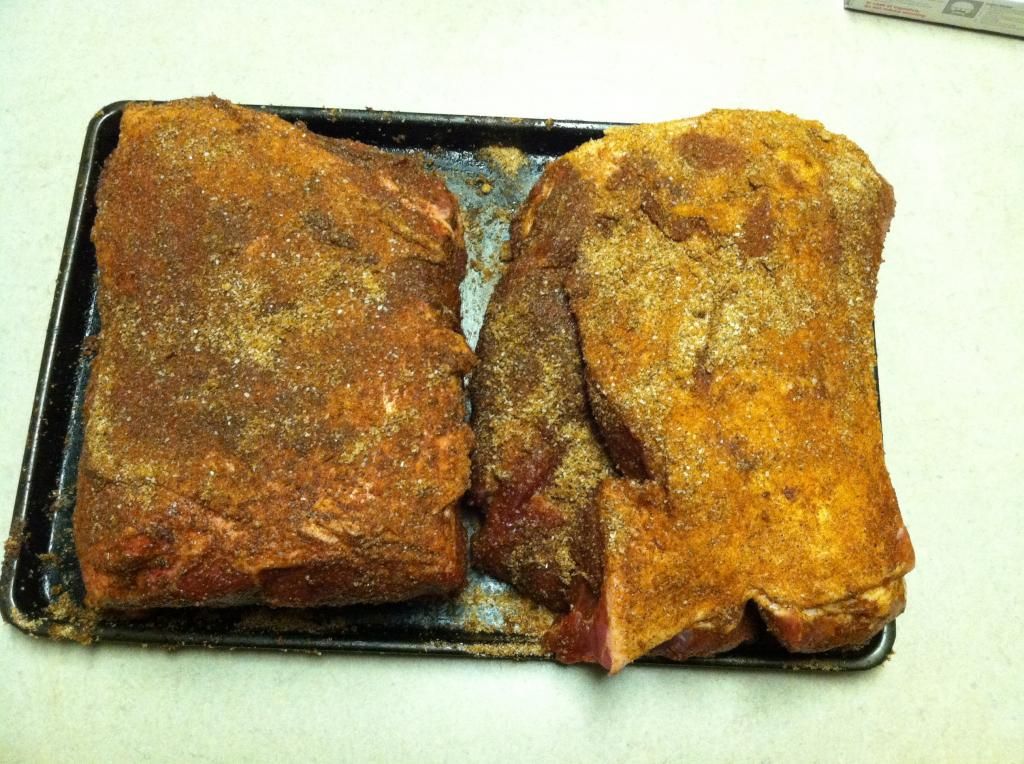
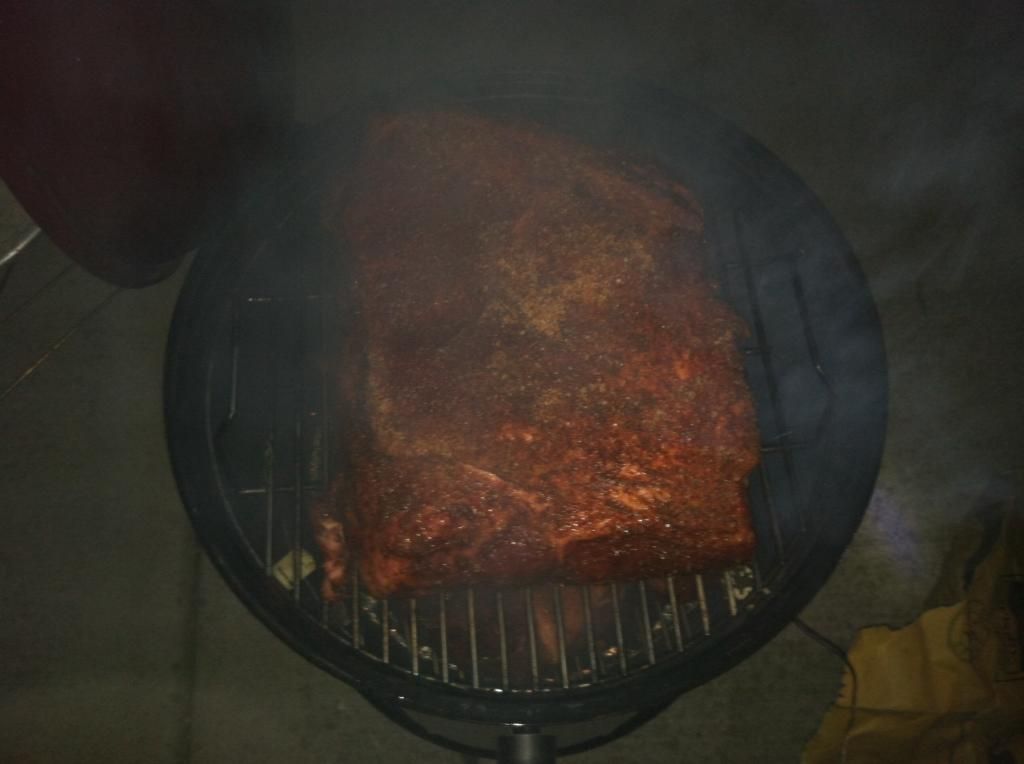
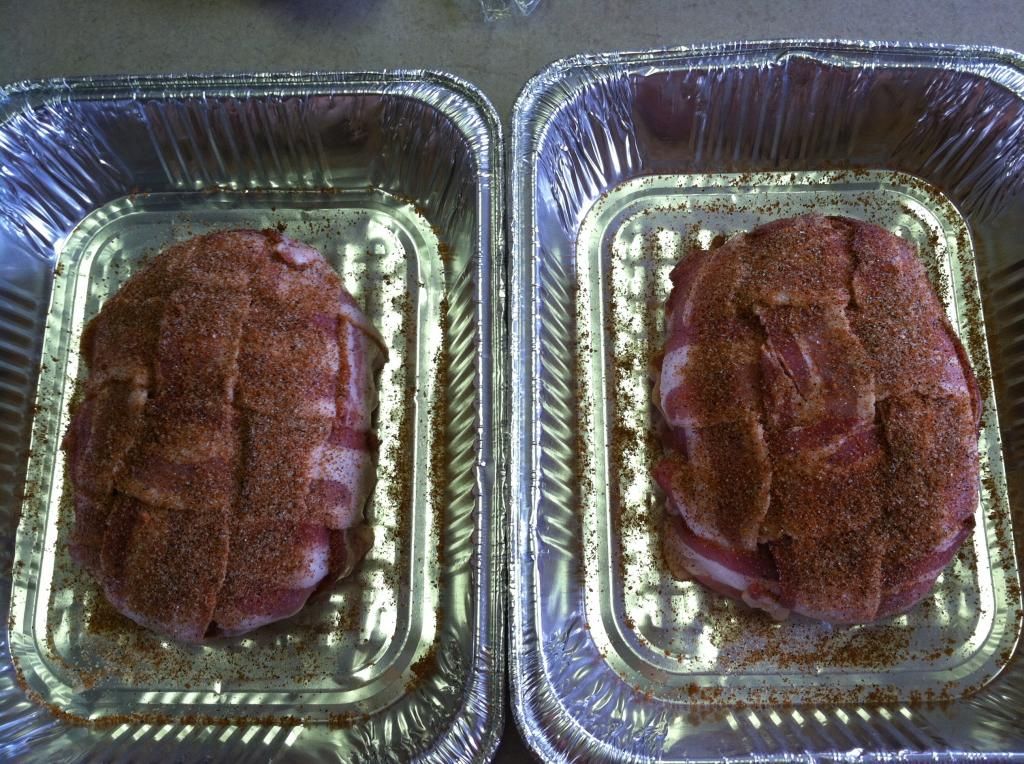
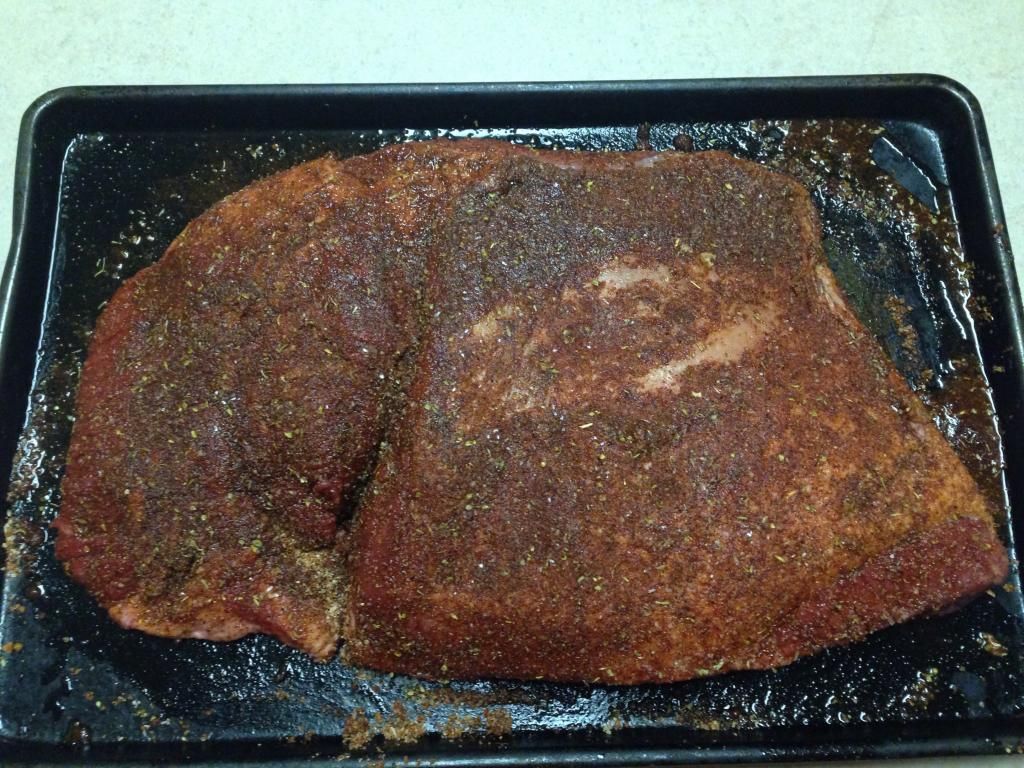
does brisket their own way. Before I confused myself, I stopped researching and made a last minute decision to jump right in and do an overnight brisket.  I took what I had read and did my own thing. I first injected the brisket with beef broth and then rubbed it down with some home made rub. I used the same rub that I use on everything else I make. LOL! 


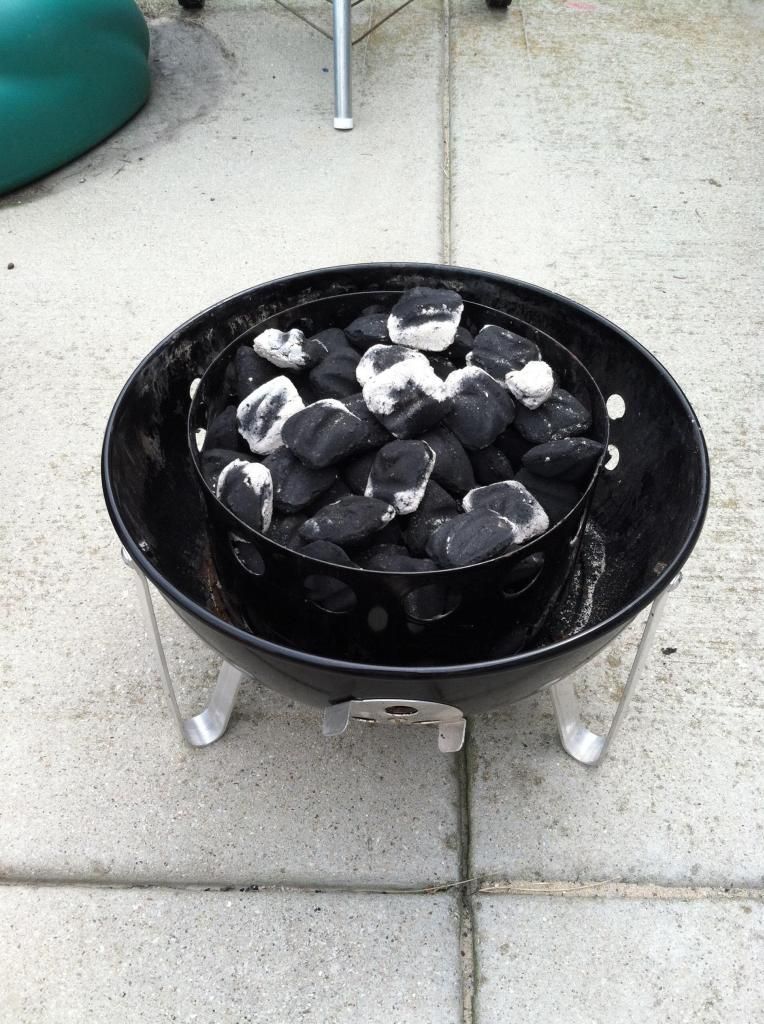
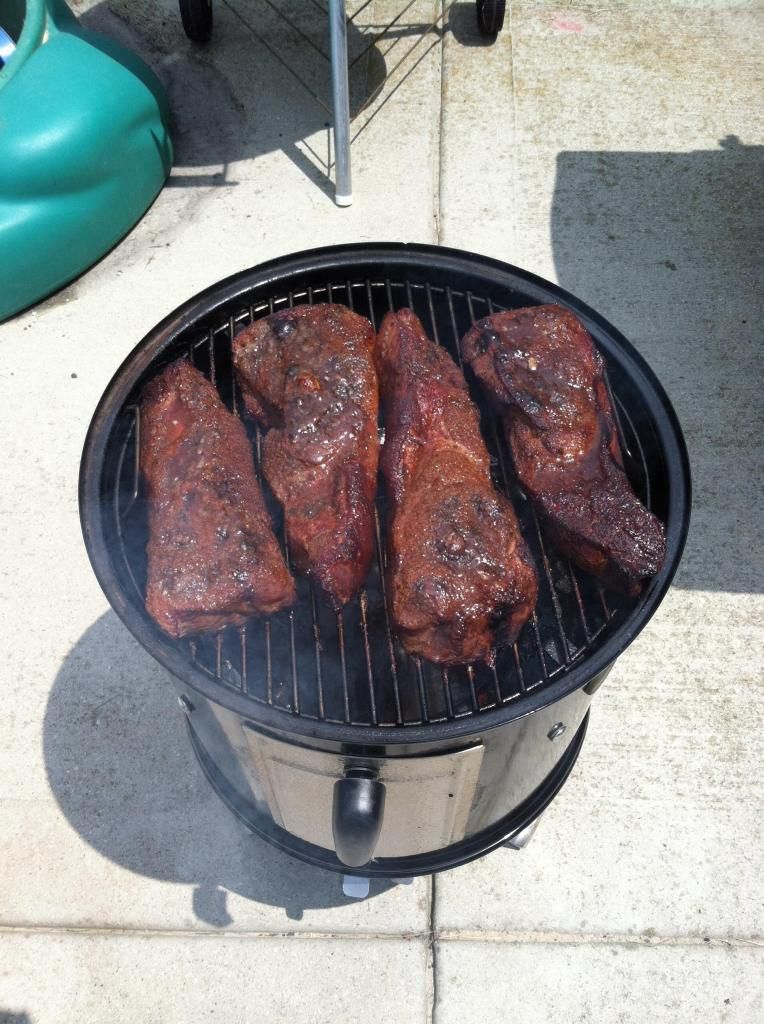
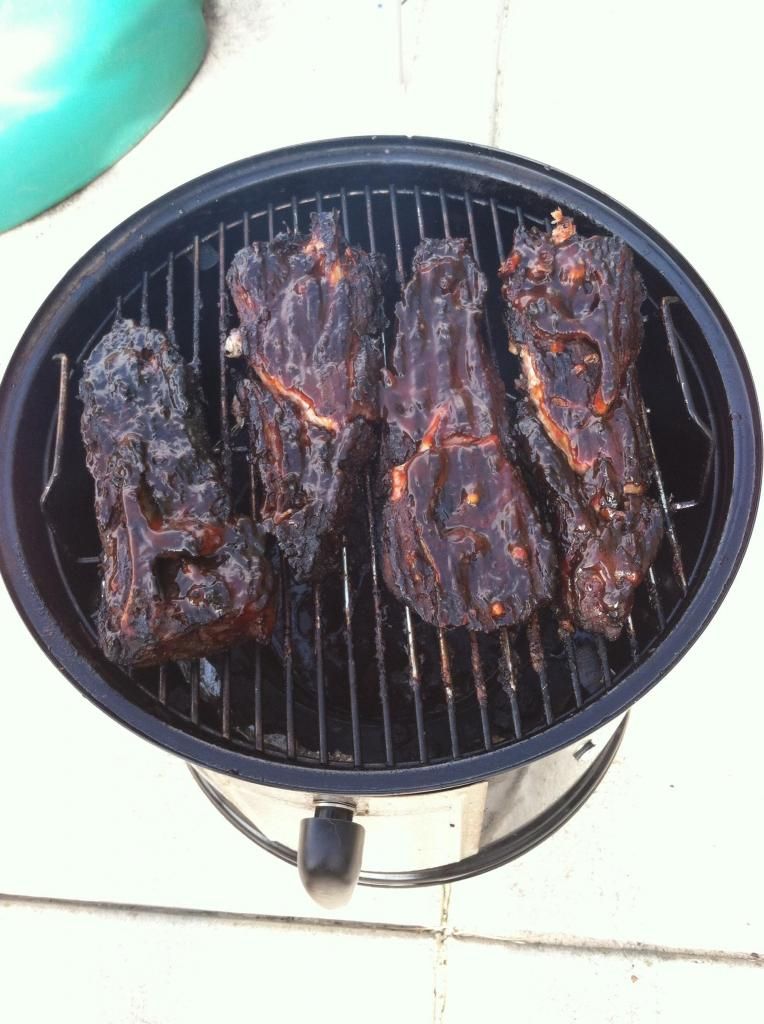
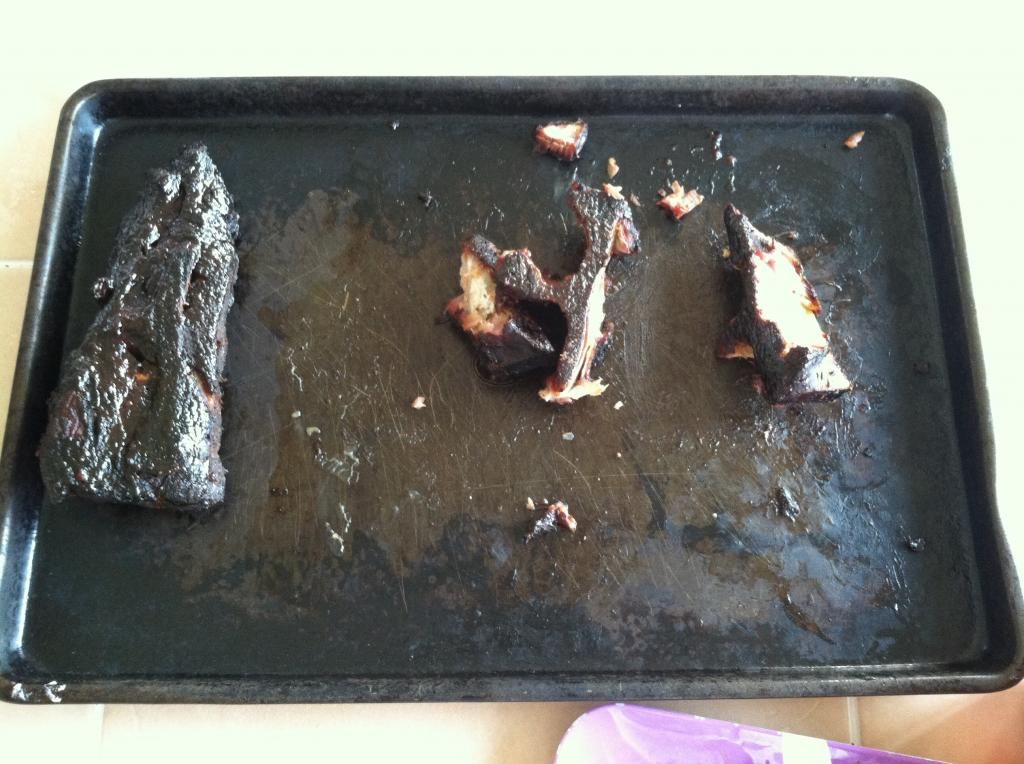
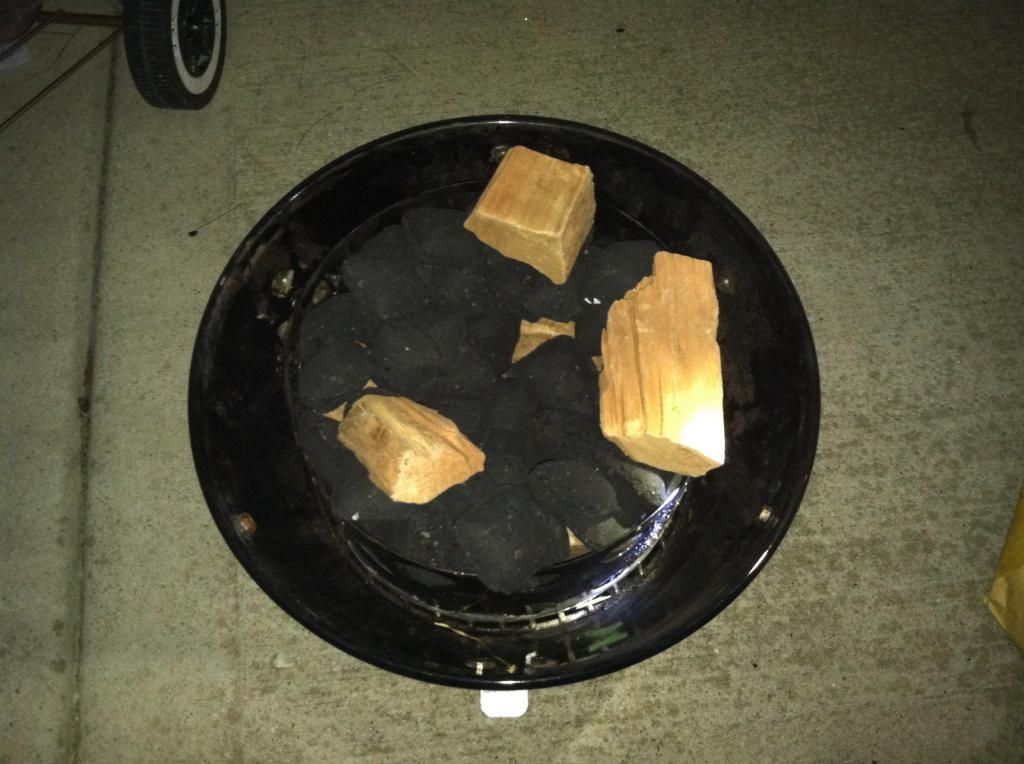
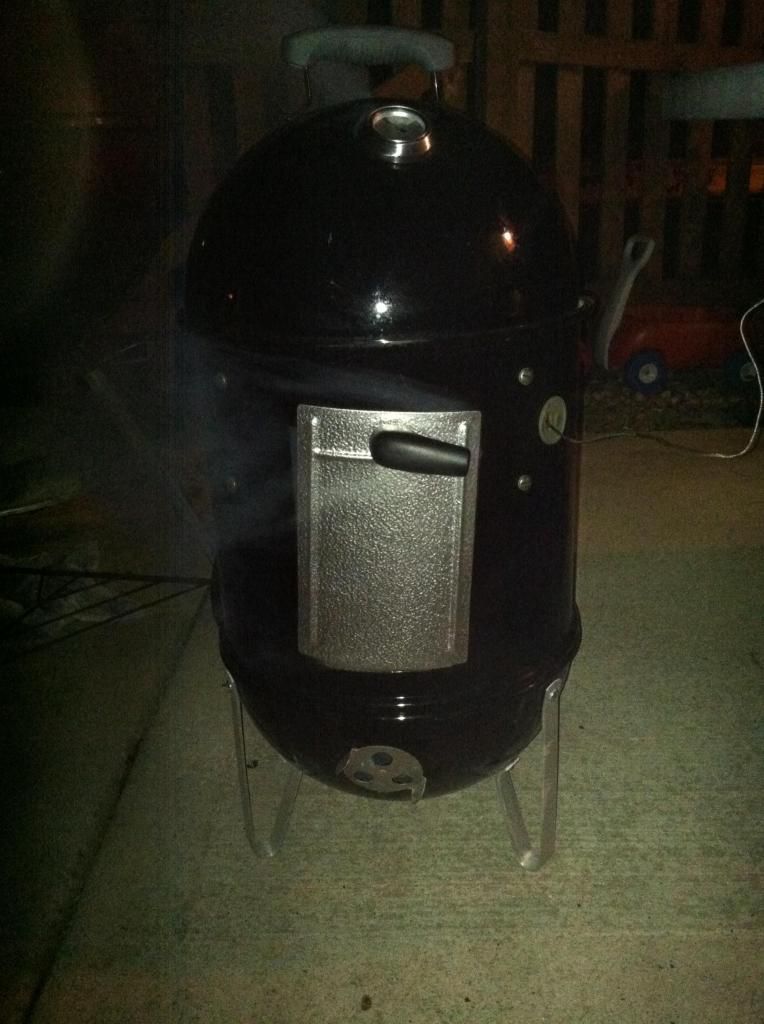
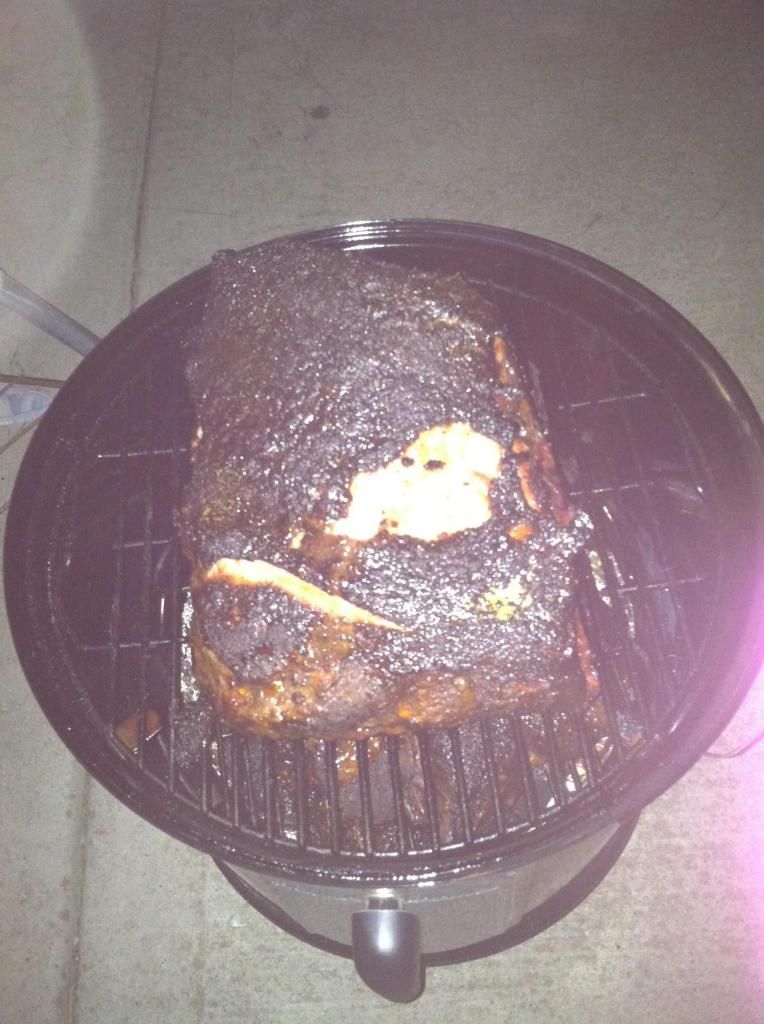
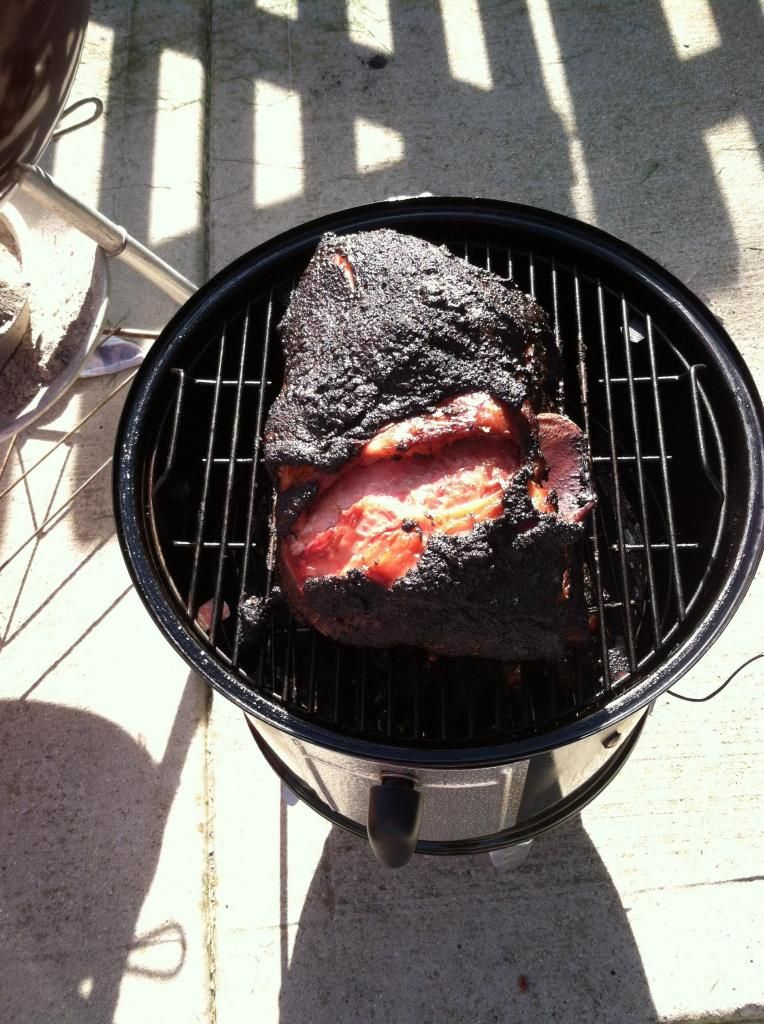
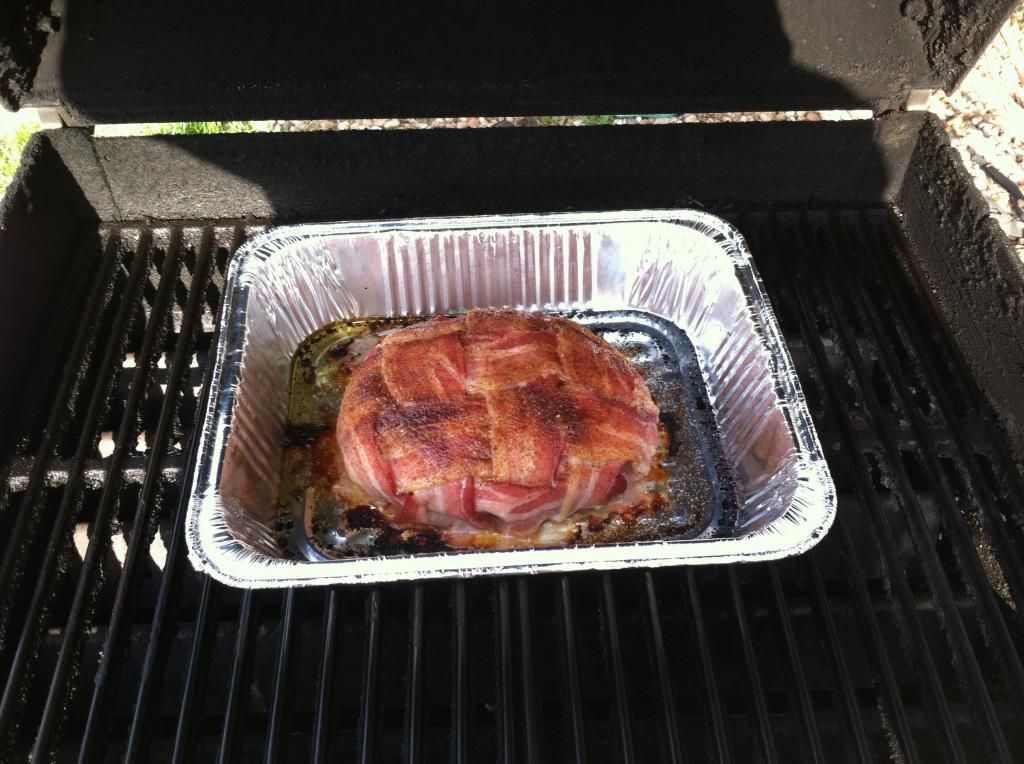
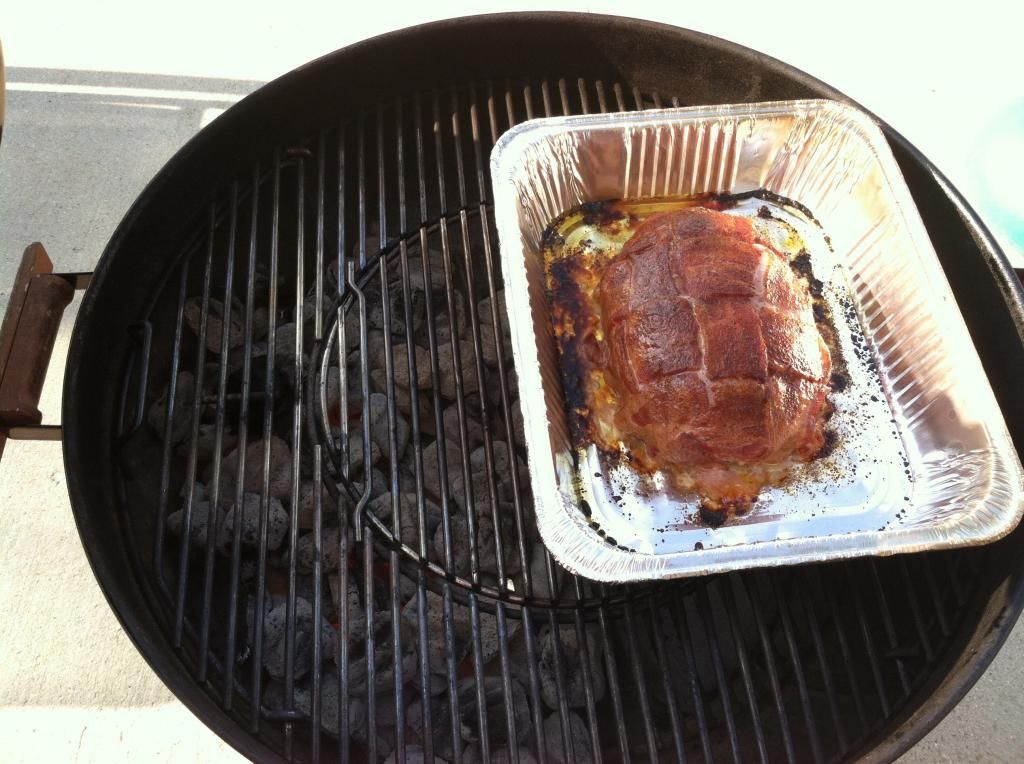
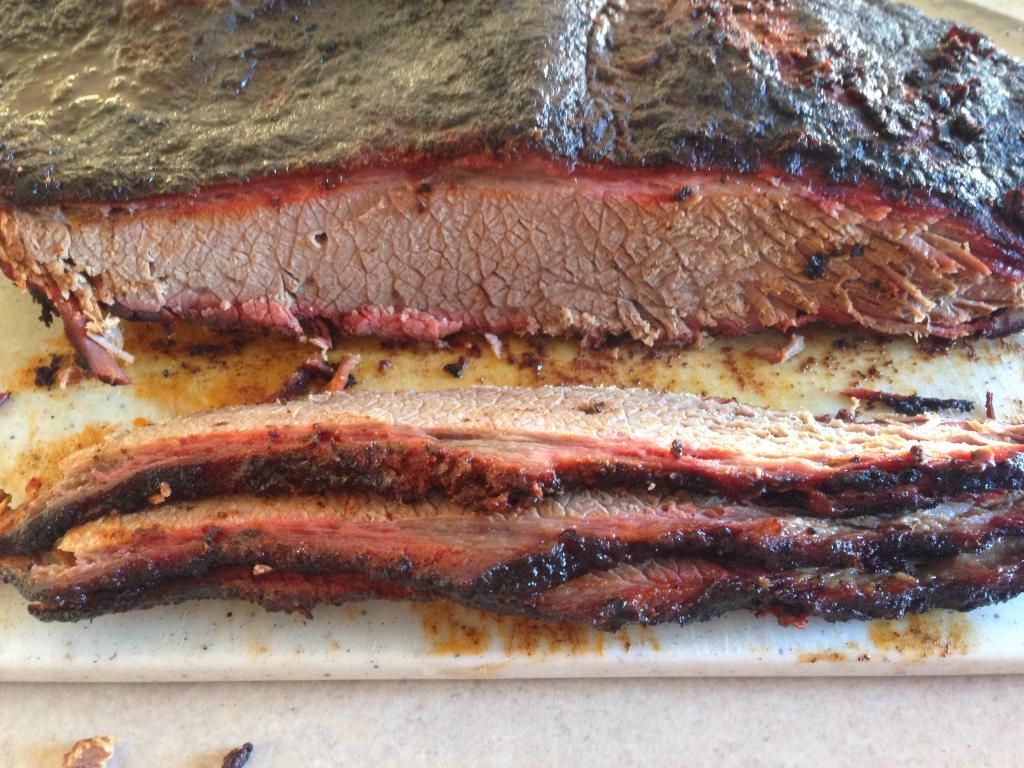
I was able to get it on the smoker around 11:20 PM. Once I was able to keep the smoker temp pretty steady, I decided to go to bed. That was around 12:30. Around 3:45 AM, Ella had came and woke us up because she heard a weird noise. I assured her it was our hedgehog April running on her wheel. Since I was already up, I went down and checked on the brisket. The smoker temp had dropped to 180, and the brisket's internal temp was 150. I opened up the air vents to get some more Oxygen flowing to raise the temperature in the smoker, Once it hit 220, I went back to bed. I woke up again around 7:45 to find the smoker temp had dropped to 180 again and the brisket temp was 154. It was obvious the brisket had hit the stall. By this time, the brisket had been on the smoker for about 8 hours and 25 minutes. I checked the fuel and it was a little low.  I added more charcoal and brought the smoker temp up to about 250 to make up some time. The brisket temp started to rise. It hit 175 and stalled again. I decided to go ahead and wrap it in foil to power past this stall. It wasn't long before the internal temp started to rise. After 13 hours on the smoker, the brisket hit 203 and it was finally time to pull it off. At this point, even though the internal temp hit its target, it does not mean it was done just yet.  I checked the brisket for tenderness and it was definitely tender. 


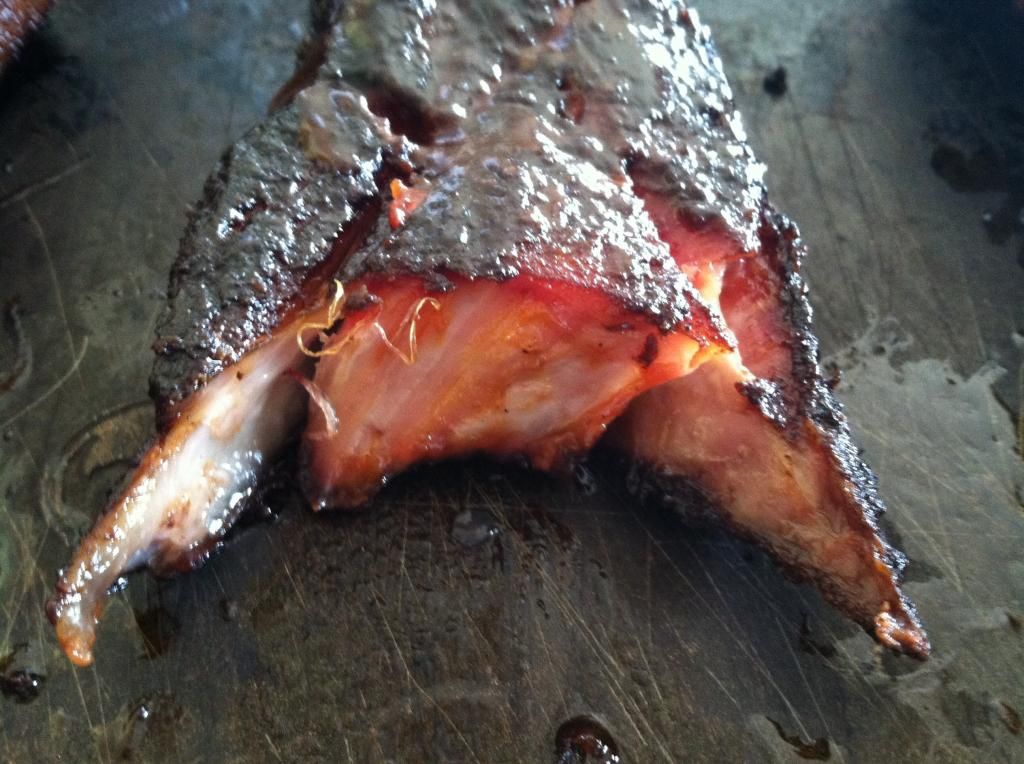
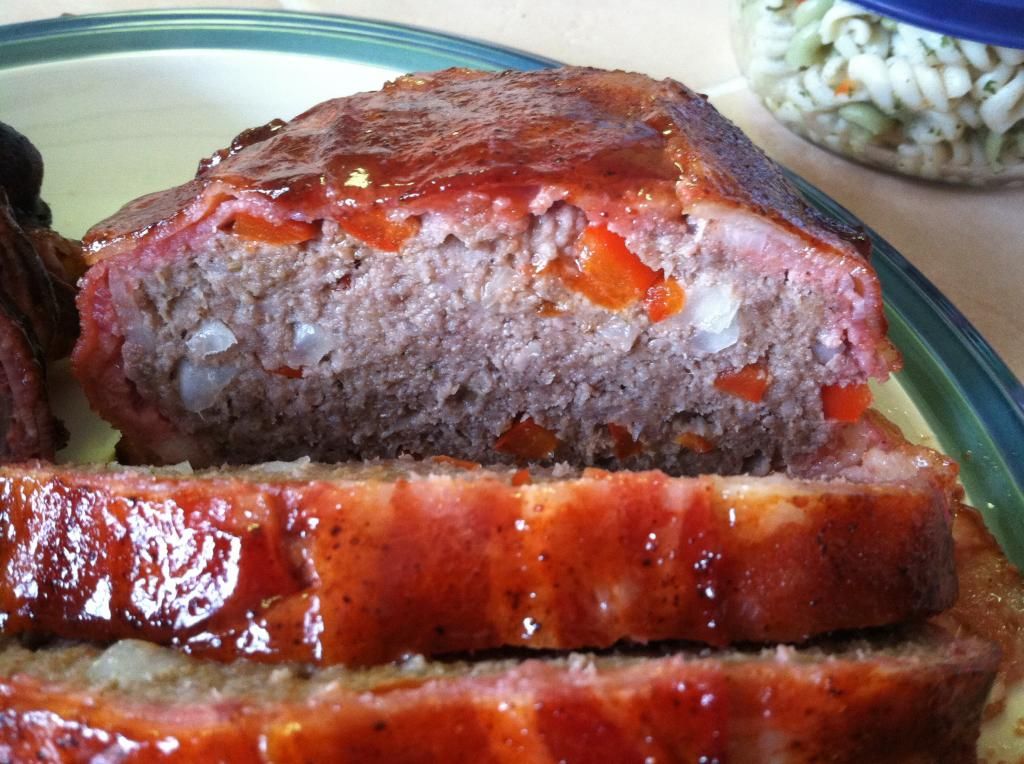
I wrapped it in more foil and let it rest for about 30 minutes before slicing. 


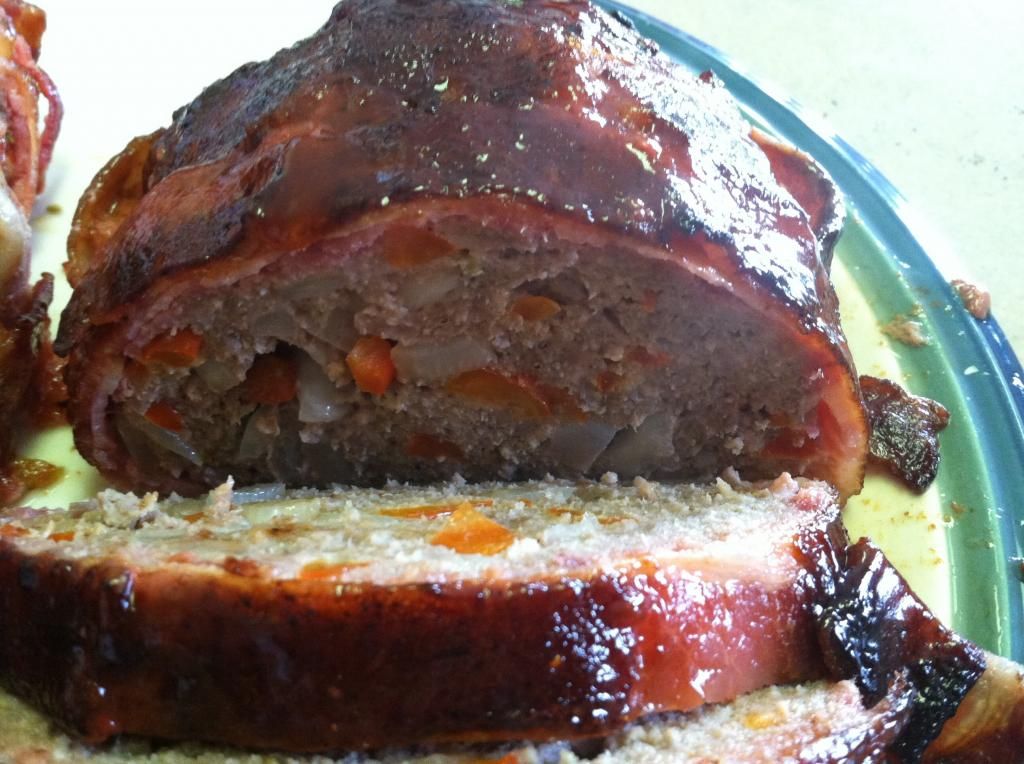
The brisket cut like butter and was fork tender. It was delicious! I have to pat myself on the back for getting over my fear of ruining brisket and actually making a decent one. Thanks for looking!!!

Chuck AKA Crabby

Wednesday, December 24, 2014

Armadillo Eggs

Every year we celebrate Christmas with my in laws on Christmas Eve and every year for dinner we have a bunch of appetizers. This year I decided to make a grilled appetizer. I looked through pages and pages of recipes until I finally found the one I wanted to make.  Armadillo eggs!!! I immediately ran to the store to buy the ingredients. 


I sautéed the shallots in butter and seasoned them with salt and pepper. I then mixed the shallots with the cream cheese and finely shredded sharp cheddar cheese.


I then halved and seeded the jalapeños and stuffed them with the cheese and shallot mixture. 


I then took the bulk Italian sausage, flattened it out like a burger patty and wrapped the stuffed jalapeños in the sausage. Then I seasoned them with some of my Crabby's Pork Rub.


I set up the grill for indirect grilling. I put aluminum foil on the charcoal grate on the opposite side and added a chunk of cherry wood. 


After about 20 minutes, I turned them and let them cook for another 10 minutes. 


I pulled them off and brought them in the house to let them rest. 


I was running low on sausage so I wasn't putting as much sausage around the stuffed jalapeños towards the end. While cooking, the sausage shrank a little and the cream cheese leaked out making a small mess. Thank goodness I put the foil down on the charcoal grate! I thought they came out really good. Next time I will make sure to use more sausage around the jalapeños. 


Thanks for looking!!!

Chuck

Sunday, December 14, 2014

Jambalaya Round 2

A few weeks ago I had decided to try my hand at making jambalaya. When I decide to make something, I research what I want to make and come up with my own recipe. The more I thought about how to make it I wondered how it would come out if I did it on the grill. All in all the taste was there, but I had cooked it with the rice and the rice came out really mushy. Fast forward to round 2 which I made today. I made a few changes to how I made it. Below are my list of ingredients.  The measurements are approximate.

1 lb grilled boneless skinless chicken breasts with Cajun seasoning
13 oz andouille sausage
1 onion
2 bell peppers
4 stalks of celery chopped
4 cloves of minced garlic
28 oz can of original Rotel tomatoes with green chilies
15 oz can of tomato sauce
3 cups of Chicken broth
1/2 cup Worcestershire sauce
2 tsp salt
1 tsp black pepper
1/2 tsp cayenne pepper
1 tsp onion powder
2 bay leaves
4 servings of white rice


After prepping all of the ingredients, I started by grilling the chicken and andouille sausage. 


Once done, I brought them inside to cool off. I then put the grilling wok on the grill to preheat it. I started off by adding some vegetable oil and then the bell peppers. 


I let them cook for about 5 minutes. I then added the sweet onions, celery, garlic and the dry ingredients. I let them cook for about 5-7 minutes. 


Once the veggies started getting soft, I added the Rotel tomatoes, tomato sauce, and chicken broth. I brought the mixture to a boil, added the 2 bay leaves, the grilled chicken and andouille sausage. I let it simmer on the grill for 25 minutes. 


While the mixture was simmering on the grill, I made white rice. Here is the finished product:


All in all this jambalaya was A LOT better than the first time I made it. I am very happy with the changes I made. I hope you try out this recipe and like it too. Thanks for reading!

Chuck

Sunday, July 6, 2014

Country Style Ribs

It has been a while since I used my smoker. I believe the last time I used it was for Brayden's birthday party. That was over a month ago. I have been waiting for pork shoulder to go on sale for a decent price. We went shopping on Saturday at Meijer and I saw that pork shoulders were on sale for $1.99/lb. They also had pork shoulder country style ribs on sale for $2.19/lb. I was torn as to what to get because I have been wanting to try making country style ribs (CSRs). For those that don't know, CSRs are not ribs at all. They are a pork shoulder that is cut down into 1"-2" thick steaks. I decided to get both the CSRs and the pork shoulder and to make the CSRs first.


I consulted with my good buddy Jim to see how he makes these since I knew he had made them before. I also have been reading up on how to make them.  It seems everyone makes them different. Jim said he usually smokes them for about 4-6 hours.  I made sure to allow myself enough time so we can eat these for dinner. I started about 10:00. I threw together a basic BBQ rub.  I then seasoned them up with my homemade rub and let them sit for about an hour and a half.


I got the smoker fired up using the Minion Method.  For those who do not know, the Minion Method is used for low and slow cooks.  You fill your charcoal ring and take about 10-15 lit briquettes and throw them on top of the unlit coals.  There are variations to how people do the Minion Method.


 I decided to use cherry wood for these.  I waited for the temp in the smoker to get where I wanted before throwing the cherry wood into the charcoal ring. Once I started getting good smoke, I put the CSRs on.  It was around 11:40.


After about an hour and a half, I opened the lid and checked the temp of the CSRs and they were sitting at 145 degrees.


I did more reading up on CSRs and I was reading differing opinions from everyone. Some people say to pull them off when the internal temp reaches 165-170 and others say to wait until the internal temperature hits 190-195. Some say to grill and others say to smoke. I was not sure how long to smoke them after reading all of that.  I decided to let them keep on cooking. My wife was bored and wanted to get out of the house, so away we went. By the time we got home, the CSRs had been on the smoker for 5 hours and 10 minutes. They were very tender at this point. I decided to go ahead and sauce them and keep them on for another 20 minutes.


As you can see in the picture above, they fell apart as I was flipping them to sauce the other side. I pulled the CSRs off of the smoker at the five and a half hour point. I brought them inside and sauced them again and let them rest for about 30 minutes. 


They were a little dryer than the way I prefer my pork, but they were still very edible.  The smoke was dead on.  It was there, but not overpowering at all.  Steph had finished her plate full before I had my first bite.  Ella did a great job chowing down on them too.  Brayden, not so much.  He ate an apple and some mac and cheese for dinner.  I guess two out of 3 was not too bad.  Jenny seemed to like them too.  She said she wasn't hungry, but had a couple of helpings.  This was all that was leftover:


I think if there is a next time I will not cook them as long. 

Thanks for looking!   

Sunday, May 25, 2014

Brayden's Birthday Boston Butts

We always have Brayden's birthday party over Memorial Day weekend. I usually grill burgers and hotdogs. This year I wanted to do something different in addition to the burger and dogs. I wanted to make some smoked pulled pork. I am a on grilling and BBQ forum called TVWBB. Every Saturday of Memorial Day weekend they have a WSM Smoke Day. I bought my first smoker earlier this year so this was the first year I was able to participate in it. I had a pork shoulder already in the freezer that I had bought on sale. As the day got closer I decided I should probably buy a second pork shoulder just in case. I was trying to plan out the smoke in my head so that it would be ready in time for the party since it takes quite a long time. I had never smoked more than one shoulder at a time so I wasn't sure if adding a second would require extra time. I asked that question on the TVWBB forum. I had originally planned on getting up at 4:00 to get it going. Some guys said it would take longer while others said it shouldn't add too much extra time. I decided before going to bed that I would just start it at midnight and do an overnight cook to play it safe. It would be pretty embarrassing to have a party and the food not be ready. I started out by making my own rub. The rub is a simple basic BBQ rub consisting of brown sugar, white sugar, kosher salt, black pepper, paprika, chili powder, garlic powder and onion powder. I rubbed down the shoulders with this blend of spices.


I set up the smoker by putting some charcoal in the ring, added a couple of pieces of cherry smoke wood, filled the ring to the top with more charcoal and then I added a few more pieces of cherry wood.


Pork shoulder are fatty and full of fibrous connective tissues, so you have to cook them over a long period of time, you want to make sure to keep the heat low and cook it slow. Cooking it low and slow ensures the fat and the fibrous tissues melt to make it tender and juicy. Anyway, to cook it slow I took 12 briquettes out of charcoal ring and lit them using my compact chimney. Once they were lit and ashed over, I dumped them into the middle of the charcoal ring to get it going. I put the middle section on and filled the water pan with hot water. In a vertical smoker, the water pan is directly above the charcoal. The water pan lets the food be cooked indirectly. When it is full of water, it acts like a heat sink and keeps the temperature low in the smoker. Plus the steam from the water boiling off keeps the food moist. I was able to get the shoulders on the smoker right at midnight just in time for WSM Smoke Day.


I wanted to make sure the temperature came up to at least 220 degrees and held steady.


By that time it was already 1:00. I have the 14.5" WSM so I knew it would only burn for 4-5 hours before needing more charcoal. I set my alarm for 0430 to check on it. The temperature was still holding steady, but first round of charcoal and wood was about gone. The temp of the shoulders were sitting right around 159 degrees.


I took out a bunch of the already lit coals and put them in the chimney starter. I then emptied out the ash from the smoker into my kettle grill. I dumped in another full ring of charcoal and added the lit coals on top and let it get back up to temperature. I also added more water to the water pan. I went back to bed around 5:00. I had to repeat the same process at 9:30. At about 10:30, the shoulders hit 195 degrees.


The party was not starting until 3:00 and we did not plan on eating until at least 5:00. I wrapped the shoulders in foil and then two bath towels and put them in the cold oven. Ideally, a cooler would be the place to put them, but they were being utilized for drinks for the party. When it was time to pull the pork, the shoulders were still nice and warm. The pork pulled apart really easily.


I think everyone liked the pork since I started out with about 17.2 lbs of shoulder and after everyone ate, I had maybe 1-2 lbs left.


That was even with having burgers and hotdogs. I would say the pulled pork was a pretty huge success. Sorry for the long winded post.  Thanks for looking!

Chuck

Saturday, May 17, 2014

Grilled Meatloaf

We didn't have anything going on today, so I was trying to think of something good to grill for dinner. I thought about grilling pizza, but my wife said she would rather order pizza from Nancy's than go through all that work. Plus it is pretty messy. I then got the idea of grilling a meatloaf. Of course I would have to convince the kids first. Ella likes bacon, so I won her over by saying I would wrap it in bacon. Steph was pretty easy to convince too. Brayden was still on the fence though. I told him it would be like a BIG hamburger. That got him. :)  Here is the list of ingredients I used:

1.3 lbs ground chuck
1.3 lbs ground pork
1/2 a sweet onion chopped coarsely
1 red bell pepper chopped coarsely
2 teaspoons minced garlic
1 egg
3/4 C bread crumbs
Worcestershire sauce
Kosher salt
Black pepper
My home made BBQ rub
18 slices of bacon


I normally throw in ingredients and don't really measure, so that is why some of the ingredients do not have measurements by them. With so much meat, I knew I had to split it up into two loaves otherwise it would take forever to cook. I fired up both the Genesis and the kettle. I set up both grills for indirect grilling since the meat loaves were going to take approximately an hour each to grill. While the grills were preheating, I mixed the first 10 ingredients together in a large bowl and set aside.


Now came the fun part, weaving the bacon. Weaving bacon is not as hard as it looks. I laid out 4 slices of bacon next to each other on top of parchment paper. I folded down the second and fourth slice. I then laid a slice across where the folded bacon was and then unfolded the second and fourth slices. Next I folded up the first and third slices and laid another slice across. I then unfolded the first and third slice. I continued until my bacon weave was done.


I then took approximately half of the meat mixture and laid it on top of the bacon weave. I formed the meat mixture into a loaf like form. I then folded the parchment paper around the meat mixture until the bacon stuck to the meat. I took all of this and laid it in a foil pan with the bacon ends on the bottom. I folded the ends under the loaf and formed it a little more.  They looked like little works of art.  LOL!


I took some of my home made BBQ rub and sprinkled it over the loaves.


By this time the grills were ready to go. I took a couple of small chunks of hickory smoke wood and threw it on top of the charcoal. I put the loaves on the grills foil pan and all. I checked the temperature about 30 minutes in to makes sure the were cooking at a good pace.


They were both about 120 degrees. After about another 30 minutes, I spread some BBQ sauce over the top of the loaves.


I checked them again in 15 minutes and they were both around 165 degrees which is where I wanted them. I pulled them off of the grill and let them sit for a few minutes.


I sliced them both with an electric knife and they were done perfectly.


I have always wanted to try grilled meatloaf and am glad I was able to do it today. I thought it was pretty tasty. The hickory gave the one loaf a really nice flavor. I didn't use quite enough of it though. Now I know for next time. If you haven't tried grilled meatloaf, I would highly recommend it. Thanks for looking!

Chuck